
Fertilization
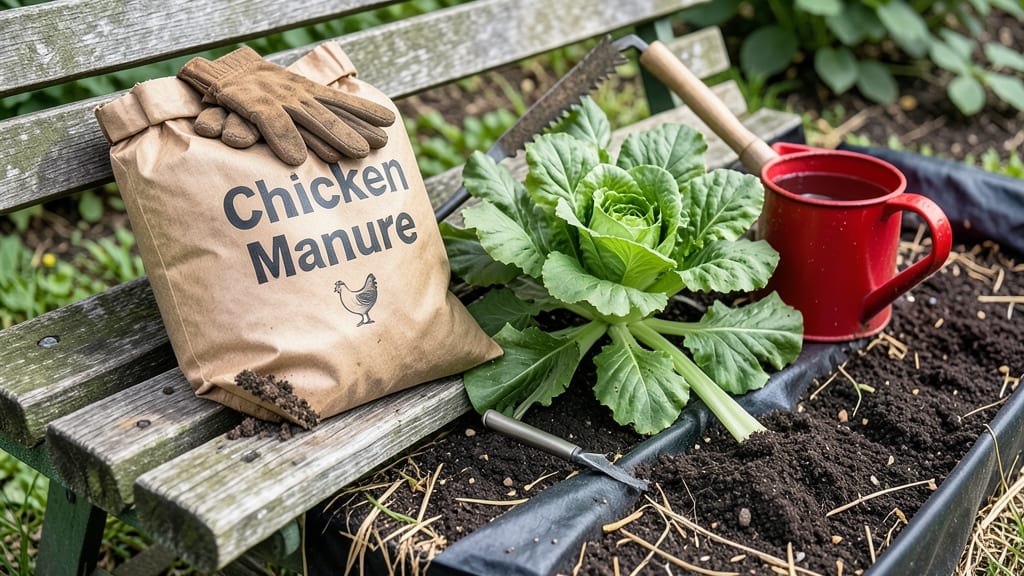
Using chicken fertilizer for gardens can transform your soil into a nutrient-rich haven for General Garden Plants 🌱, but timing is everything.
Struggling to decide when your chicken manure fertilizer is ready for the garden? Using it too soon can burn plants—but composting it properly unlocks its full potential as a nutrient powerhouse.
This guide breaks down exactly how long to compost chicken manure, how to test its readiness, and the best ways to apply it without overdoing it.
Whether you're growing vegetables, flowers, or lawns, you'll learn the key steps to maximize benefits while keeping your plants happy and thriving.
How long to compost chicken manure before garden use
Composting chicken manure properly transforms it from a raw, potentially harmful material into a nutrient-rich fertilizer that boosts your garden's health. Fresh chicken manure contains high levels of ammonia and salts that can burn plant roots and seedlings if applied directly.
The key is patience—allowing enough time for decomposition to stabilize nutrients and eliminate pathogens.
Most gardeners aim for a 6-month composting period for chicken manure, but this can vary based on your composting method, climate, and how you plan to use it.
For example, hot composting (with temperatures above 140°F) can reduce this time to 3-4 months, while cold composting may take up to a year. Understanding these timelines helps you plan ahead for your planting schedule.
Here’s a quick breakdown of what to expect at different stages of composting chicken manure:
For vegetable gardens, aged chicken manure (6+ months) is ideal because it provides a balanced mix of nitrogen, phosphorus, and potassium without the risk of over-fertilizing tender crops like lettuce or spinach.
Flowers and ornamental plants also benefit from this nutrient-rich compost, especially during their blooming season when they need extra phosphorus.
If you're growing fruit trees or berry bushes, consider applying composted chicken manure in the fall or early spring, 2-3 months before harvest. This timing ensures nutrients are fully integrated into the soil and reduces the risk of contamination.
Always mix it into the top 6-12 inches of soil rather than applying it as a surface layer.
One common mistake is assuming all composted manure is ready at the same time. For instance, hot composting achieves faster decomposition but requires more attention to maintain high temperatures. If you're using a simple pile in your backyard, expect a longer timeline.
Test your compost’s readiness by checking for a dark, crumbly texture and an earthy smell—no ammonia or sharp odors should remain.
For container gardens, use composted chicken manure sparingly. Since pots have limited space, a 1:4 ratio of compost to potting mix is sufficient. Overloading containers with manure can lead to salt buildup, which harms roots. Always water thoroughly after applying compost to help leach out any excess salts.
Pro tip: If you're short on time, you can speed up composting by shredding the manure (to increase surface area) and adding carbon-rich materials like straw or dried leaves.
This helps balance the nitrogen-heavy manure and accelerates decomposition. Just remember, even with these shortcuts, 3-4 months is the minimum safe window for garden use.
Finally, always store fresh chicken manure in a covered bin or pile away from your garden beds. This prevents direct contact with plants and reduces the risk of spreading pathogens or pests.
With the right composting approach, your chicken manure will become one of the most valuable additions to your garden’s soil health. 🌱
Signs your chicken manure compost is ready (and how to test it)
Knowing when your chicken manure compost is ready to use is key to avoiding plant burns while maximizing nutrient benefits. Fresh manure can scorch roots due to high ammonia levels, but properly aged compost transforms into a nutrient-rich soil amendment.
The good news? There are simple visual and sensory cues to check maturity without lab tests.
First, look for a dark brown or black color—this indicates decomposed organic matter. The texture should resemble crumbly, well-aged soil rather than chunky or fibrous material. If your compost still has recognizable chicken droppings or straw pieces, it needs more time.
Smell also plays a crucial role: ripe compost has an earthy aroma, similar to forest soil, while unfinished compost smells sour or ammonia-like.
🌱
- 🌿 Dark brown/black color
- 💧 Crumbly, soil-like texture
- 👃 Earthy, sweet smell (no ammonia)
- 🔥 No heat when handled (cooled down)
- 🌱 Safe for all plants (veggies, flowers, trees)
- 🟡 Light brown or grayish
- 🧵 Fibrous or chunky texture
- 🤢 Sour or ammonia smell
- 🔥 Warm to touch (still decomposing)
- ⚠️ Risk of burning plants (high nitrogen)
For a quick DIY test, grab a handful of compost and squeeze it tightly. If it holds its shape but crumbles easily when released, it's ready. You can also perform a seed germination test: sprinkle a few seeds on top of the compost.
If they sprout within 3-5 days, the compost is safe and nutrient-rich. If seeds fail to sprout or show signs of stress, your compost needs more time.
If your compost isn’t ready yet, don’t rush it! Spread it out in a thin layer to speed up drying and turn it regularly to improve aeration. Adding carbon-rich materials like dried leaves or shredded newspaper can also help balance the nitrogen levels.
Patience pays off—properly aged chicken manure compost can triple your garden's productivity compared to fresh manure.
Once your compost passes these tests, it’s time to incorporate it into your garden. Mix it into the soil before planting or use it as a top dressing for established plants. For container gardens, blend it into potting mix at a ratio of 1:4 (compost to soil).
The key is consistency: well-composted chicken manure provides slow-release nutrients that feed plants all season long.
🌿