
How To
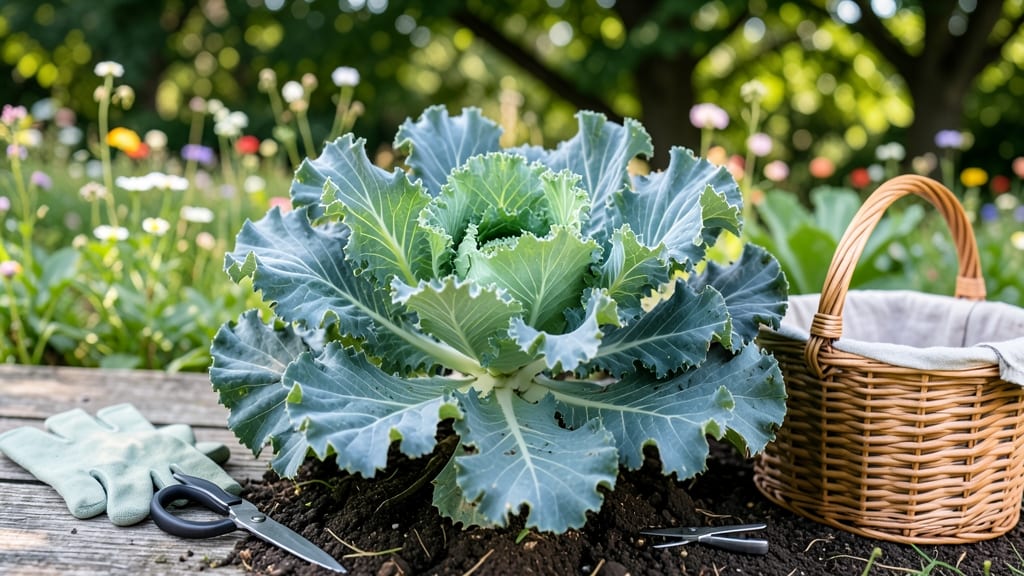
To pick kale from your garden the right way means harvesting leaves without sacrificing future growth—something even experienced gardeners sometimes get wrong.
Most people assume cutting the whole stem at once is the fastest method, but that’s a recipe for stunted plants and fewer harvests. Instead, you’ll learn the leaf-by-leaf technique that keeps your 🥬 thriving for weeks longer.
Timing matters just as much as technique. Harvesting too early or too late can turn your crisp, flavorful greens into tough, bitter scraps. I’ll walk you through the exact signs to watch for and when to stop.
By the end, you’ll know how to extend your garden’s bounty, avoid common mistakes, and enjoy fresh, homegrown kale all season—without overworking your plants.
When and how to harvest kale leaves for continuous regrowth
Harvesting kale at the right time and using the correct technique can turn a single plant into a year-round green machine. Unlike many vegetables, kale rewards patience—when you pick leaves properly, your plant will keep producing tender, flavorful foliage for months.
The key is to focus on outer leaves first while protecting the inner growth center.
Timing matters too. Kale leaves reach their peak flavor and texture when they're 6-8 inches long and fully developed but before they flower. Waiting too long turns leaves tough and bitter, while harvesting too early means missing out on maximum yield.
Think of it like trimming your hair—you want to remove just enough to encourage fuller growth, not bald spots!
Here's the step-by-step process I use to harvest kale without harming my plants:
- 1 Wait for maturity: Harvest only when leaves reach 6-8 inches long and are firm but tender. Younger leaves are edible but less flavorful.
- 2 Choose outer leaves: Select the largest, most mature outer leaves first. These are ready to harvest while protecting the tender inner growth.
- 3 Use clean shears: Snip leaves 1 inch above the stem with sharp pruners or scissors. Avoid tearing leaves—this can damage the plant.
- 4 Leave the center intact: Never cut into the inner leaf rosette. This protects the plant's ability to regrow new leaves from the center.
- 5 Harvest regularly: Pick every 1-2 weeks during growing season. Consistent harvesting encourages continuous production.
- 6 Watch for flowering: Stop harvesting when the plant sends up a flowering stalk. This signals the end of the plant's productive life cycle.
One common mistake I see is gardeners cutting entire stems or harvesting too aggressively. This stresses the plant and can reduce future yields. Instead, think of kale harvesting as a gentle pruning process—you're shaping the plant to produce more, not taking everything at once.
After harvesting, I always check for signs of stress like yellowing leaves or stunted growth. If you notice these, your plant might need a light fertilizer application or more consistent watering. Kale is surprisingly resilient, but even tough plants benefit from a little post-harvest care.
For cold-hardy varieties like Winterbor or Lacinato, you can continue harvesting well into fall and even winter, as long as temperatures stay above 20°F. Just be sure to protect plants with row covers during hard freezes. The flavor actually improves after a light frost for many varieties!
Pro tip: Store harvested kale in the fridge for up to 5-7 days by wrapping leaves in a damp paper towel. This keeps them crisp longer while you wait for your next harvest.
With proper care, a single kale plant can provide you with pounds of greens throughout the growing season.
🌱 Remember, the more carefully you harvest, the more your kale plant will reward you with fresh, flavorful leaves all season long!
Kale leaf selection guide: which leaves to pick and when to stop
Selecting the right kale leaves to harvest is key to keeping your plants productive. Focus on the outer leaves first—they’re fully mature while protecting the tender inner growth.
These leaves are typically 6-8 inches long and have a deep, vibrant color. Avoid picking leaves that are still small or pale, as they won’t be flavorful yet.
Use your fingers to gently feel the leaves—tender but firm is ideal. If a leaf feels tough or woody, it’s overmature and best left for compost. The center leaves should always remain intact to fuel regrowth.
Think of your kale plant like a tree: you prune the outer branches to encourage new growth from the core.
Here’s a quick visual guide to help you decide which leaves to pick based on their size, color, and position:
| Leaf Position | Size | Color | Texture | Action |
|---|---|---|---|---|
| Outer Leaves | 6-12 inches | Deep green, purple, or red | Tender but firm | Harvest first |
| Middle Leaves | 4-6 inches | Vibrant but less intense | Semi-tender | Harvest after outer leaves |
| Inner Leaves | 2-4 inches | Lighter green | Soft and tender | Leave for regrowth |
| Small or Pale Leaves | Under 4 inches | Yellowing or dull | Woody or tough | Avoid harvesting |
Stop harvesting when you see the central leaves reaching 4-6 inches in size. This signals that the plant has regenerated enough to support another round of outer leaf growth.
If you notice the center leaves turning yellow or the plant looking stressed, it’s time to pause harvesting entirely and focus on care—like adding compost or balanced fertilizer—to revive it.
Never cut more than one-third of the plant at once, even if the outer leaves look abundant. Over-harvesting stresses the plant and can lead to fewer leaves overall. Instead, space out your harvests every 2-3 weeks for a steady supply of fresh, tender greens all season long.
Pro tip: Use clean, sharp pruning shears or a knife to make clean cuts just above the leaf stem. This prevents damage to the plant and keeps your harvest looking neat. Store picked leaves in the fridge for up to 5-7 days in a perforated bag to maintain crispness.
With this leaf-by-leaf approach, your kale plants will reward you with continuous harvests and stay productive well into fall. Happy harvesting! 🥬