Fertilization
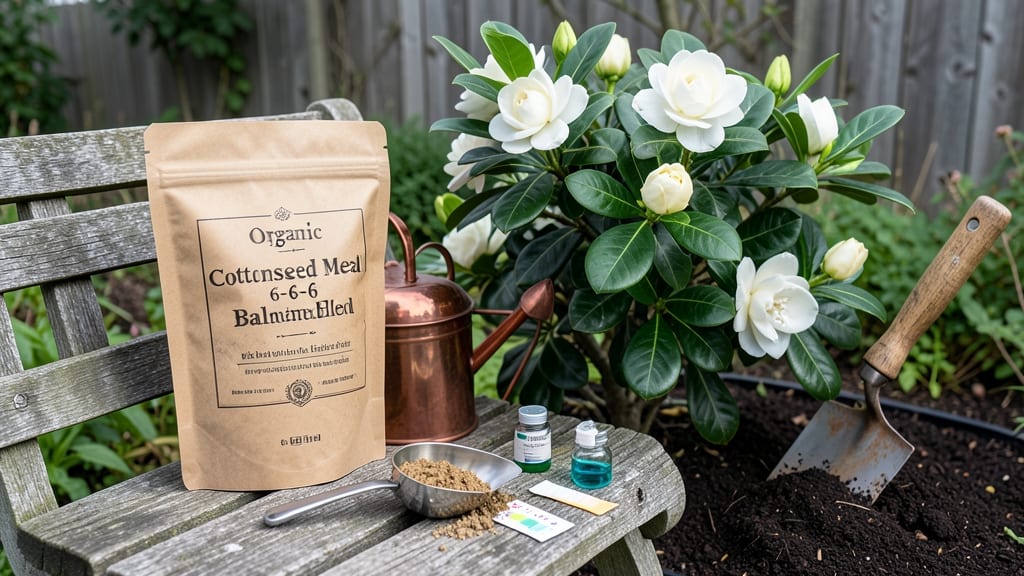
A natural fertilizer for gardenias will give your plants the acid-loving boost they need while feeding roots slowly—think coffee grounds, compost, and banana peels.
Picture this: your gardenias are thriving, their 🌸 blooms heavy with fragrance, and you’re not touching a single chemical. That’s the power of the right organic fertilizers, which not only boost flowers but also keep soil healthy for years.
Gardenias, especially those in General (Tropical/Subtropical Climates Preferred), crave acidic soil, and the best natural fertilizers mimic their natural habitat. We’ll break down what works, how to apply it, and when to feed for maximum blooms.
Skip the guesswork—learn how to create a simple, effective feeding routine that keeps your gardenias lush, blooming, and full of life without synthetic shortcuts.
Best natural fertilizers for gardenias to enhance blooms & soil health
Gardenias thrive when their acidic soil is rich in organic matter, but they despise synthetic chemicals that can burn their delicate roots. The key to vibrant blooms and lush foliage lies in using natural fertilizers that mimic their native tropical conditions.
From kitchen scraps to garden byproducts, these organic boosters provide the perfect balance of nutrients without harming your plants.
As someone who’s struggled with yellowing leaves and sparse blooms in my own gardenias, I’ve tested countless natural fertilizers. The most effective options—coffee grounds, pine needles, compost tea, and worm castings—not only feed your plants but also improve soil structure and acidity.
Let’s dive into how each works and how to use them for maximum impact.
⚠️ NON-NEGOTIABLE: Always test your soil’s pH before applying fertilizers. Gardenias need a pH between 5.0 and 6.5. If your soil is too alkaline, these natural amendments will help lower it gradually.
| Fertilizer | Key Nutrients | Benefits for Gardenias | How to Apply |
|---|---|---|---|
| Coffee Grounds | Nitrogen, Phosphorus, Potassium | Boosts blooms, lowers soil pH, repels pests | Sprinkle 1 cup around base monthly; mix into top 2 inches of soil |
| Pine Needles | Acidity, Trace Minerals | Maintains acidic soil, improves drainage | Use as mulch (2-3 inch layer); refresh every 3-4 months |
| Compost Tea | Microbes, Nutrients, Humic Acids | Enhances root health, prevents disease | Spray foliar or water soil weekly during growing season |
| Worm Castings | Nitrogen, Phosphorus, Beneficial Bacteria | Softens soil, improves water retention, feeds roots | Mix 1 cup per plant into top 6 inches of soil every 2 months |
Coffee grounds are my go-to for a quick nitrogen boost, but they must be used sparingly—too much can compact soil. I’ve found that mixing them with pine needles creates a perfect acidic mulch that mimics their natural forest floor habitat. The combination lowers pH while adding organic matter that breaks down slowly, feeding your gardenias over time.
For a liquid fertilizer, nothing beats compost tea. I brew mine using a 5-gallon bucket with 1 part finished compost to 5 parts water, letting it steep for 24-48 hours.
The resulting tea is packed with beneficial microbes that outcompete harmful pathogens, giving your gardenias a stronger immune system. I apply it every 2 weeks during active growth (spring and summer) and see healthier leaves and more buds within months.
Worm castings, often called "black gold," are another game-changer. They’re gentle enough for young plants but potent enough to revive struggling gardenias. I like to blend them into the soil during planting or top-dress around established plants. The worm castings improve soil structure, helping roots absorb water and nutrients more efficiently—critical for heavy bloomers like gardenias.
One mistake I made early on was overdoing coffee grounds in one spot, which led to mold. To avoid this, always mix fertilizers into the top 2-3 inches of soil rather than piling them on the surface.
For potted gardenias, I reduce the amount by half to prevent compaction in the limited soil volume.
If your gardenias still aren’t blooming after 2-3 months of natural feeding, check their light exposure and watering habits. Gardenias need partial shade (morning sun + afternoon shade) and consistent moisture—never soggy soil. Pairing these fertilizers with proper care will transform your gardenias from lackluster to show-stopping.
For container gardenias, I’ve had great success with a monthly fertilizer blend of 1 part worm castings, 1 part coffee grounds, and 2 parts compost. This combo keeps my potted plants thriving all year, even in my Zone 8 backyard.
The key is consistency—natural fertilizers work slowly, so stick with a routine and watch your gardenias reward you with fragrant, abundant blooms.
🌸
How to create a DIY acidic soil mix for gardenias using household items
Gardenias thrive in acidic soil with a pH between 5.0 and 6.5. If your gardenia’s leaves yellow or blooms fade, it’s likely craving a natural acid boost. The good news?
You can create an ideal soil mix at home using simple, household-friendly ingredients without synthetic chemicals. This DIY approach not only saves money but also keeps your gardenia healthy and blooming.
Most gardeners overlook the fact that household items like vinegar, sulfur, and even coffee grounds can transform alkaline soil into the perfect acidic environment for gardenias.
The key is balancing these ingredients with organic matter like peat moss or compost to ensure your gardenia gets both the right pH and nutrients. Let’s break down how to mix it right, step by step.
⚠️ Warning: Over-Acidifying Your Soil
Too much vinegar or sulfur can harm gardenia roots by making the soil too acidic (below pH 5.0). Always test your soil first with a pH kit and aim for gradual adjustments. Start with small amounts and monitor your plant’s response—yellowing leaves or wilting can signal over-acidification.
🌱 Pro Tip: Mix your acidic soil blend in layers around the plant’s root zone to avoid shocking the roots.
Start by gathering your household ingredients: white vinegar (for quick pH drops), elemental sulfur (for long-term acidity), and peat moss or pine needles (to maintain acidity naturally). For every 1 gallon of soil, mix in 1/4 cup of peat moss and 1 tablespoon of sulfur.
If your soil is severely alkaline, add 1 tablespoon of vinegar per gallon—but dilute it first in water to avoid burning roots.
Next, blend in organic fertilizers like composted coffee grounds or worm castings to provide essential nutrients. Coffee grounds add nitrogen and acidity, while worm castings introduce beneficial microbes.
Use a 1:1 ratio of soil to organic mix for potted gardenias or work it into the top 6 inches of garden soil for in-ground plants. This combo ensures your gardenia gets both the right pH and a nutrient boost.
Apply your DIY acidic soil mix around the root zone, keeping it 2-3 inches away from the plant’s trunk to prevent root damage. Water thoroughly to help the ingredients settle into the soil.
Repeat this process every 3-4 months or whenever you notice signs of nutrient deficiency, like pale leaves or sparse blooms. For potted gardenias, refresh the mix annually or when you repot.
Troubleshooting is key—if your gardenia’s leaves turn yellow with brown edges, it may be getting too much acid.
Flush the soil with water to dilute the mix and add a small amount of lime to balance the pH. Conversely, if blooms are small or sparse, your soil might need more acidity. Adjust gradually and observe your plant’s reaction.
With patience, your gardenia will reward you with lush foliage and fragrant blooms all season long.
🌿