
Tools
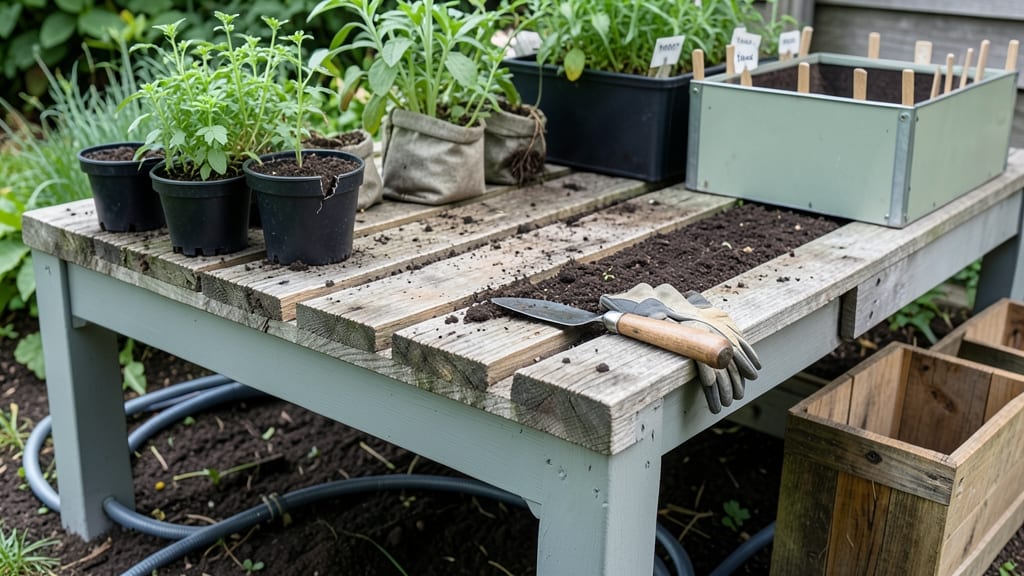
A pallet gardening table turns scrap wood into a stylish, space-saving planter that’s perfect for small yards, balconies, or even kitchen counters.
Picture this: a sturdy tabletop built from repurposed pallets, loaded with herbs, veggies, or flowers—all while keeping costs low and sustainability high. No fancy tools or expensive lumber required, just a little creativity and a weekend afternoon.
Whether you’re working with a single pallet or stacking them for a tiered design, the possibilities are endless. You’ll learn how to pick the right materials, avoid common pitfalls, and customize your table for drainage, height, and even vertical gardening.
From beginner-friendly builds to advanced designs, I’ll walk you through every step—so you can grow more in less space without sacrificing aesthetics. Let’s get started!
Step-by-step pallet gardening table construction guide
Building a pallet gardening table is a rewarding project that breathes new life into repurposed materials while creating a functional space for growing your favorite plants.
With just a few basic tools and some elbow grease, you can transform wooden pallets into a sturdy, weather-resistant raised bed perfect for herbs, veggies, or flowers. This guide walks you through every step, from selecting materials to finishing touches that ensure longevity.
Before you begin, prioritize safety and sustainability. Always choose heat-treated pallets (marked with "HT" stamps) to avoid toxic chemicals, and inspect for cracks or rot that could compromise your garden’s stability.
A well-built pallet table can last 3-5 years with proper care, making it a cost-effective solution for small spaces or urban balconies.
Step-by-Step Construction Guide
- Gather Materials:
- 2-4 heat-treated pallets (48" x 40")
- 2x4 lumber (for reinforcement)
- Outdoor wood screws (2.5-3")
- Landscape fabric (to cover pallet holes)
- Exterior wood glue (optional)
- Prepare Pallets:
- Sand rough edges and remove nails/staples.
- Cover pallet holes with landscape fabric using staples.
- Apply wood sealant to prevent rot.
- Build the Base:
- Lay pallets flat and secure with 2x4 lumber along the bottom.
- Pre-drill holes to avoid wood splitting.
- Use outdoor screws for a tight fit.
- Reinforce Structure:
- Add corner braces for stability.
- Attach a removable top layer (optional) for easy cleaning.
- Sand all surfaces for a smooth finish.
- Add Drainage:
- Drill drainage holes in the bottom if needed.
- Line the base with cardboard or hardware cloth.
- Fill with garden soil and compost.
- Final Touches:
- Paint or stain the wood for weather resistance.
- Add legs or casters for mobility (optional).
- Plant your herbs, veggies, or flowers!
One of the biggest advantages of a pallet gardening table is its versatility. You can customize the height to suit your needs—whether you prefer a countertop-style table for easy access or a ground-level bed for larger plants.
For added durability, consider lining the interior with black plastic sheeting to suppress weeds and retain moisture. This small step can make a big difference in your garden’s health, especially in hot climates.
When assembling your table, pay special attention to the screw placement. Pre-drilling holes prevents the wood from splitting, especially if you’re using pallets with knots or weak spots. For extra stability, use galvanized screws that resist rust and corrosion.
If you’re building a taller table (over 24 inches), add diagonal braces between the legs to prevent wobbling, especially in windy conditions.
Don’t overlook the importance of drainage in your design. Pallets naturally have gaps, but covering them with landscape fabric still allows water to escape while keeping soil in place.
If you’re growing moisture-sensitive plants like succulents or herbs, consider adding a gravel layer at the bottom to improve airflow and prevent root rot. This simple adjustment can extend the life of your table and keep your plants thriving.
Once your table is built, it’s time to think about plant placement. Group plants with similar water needs together to simplify care. For example, basil, parsley, and lettuce thrive in consistent moisture, while tomatoes and peppers prefer slightly drier conditions.
Use the edges of the table for trailing plants like strawberries or nasturtiums, adding both beauty and functionality to your garden.
To protect your investment, apply a weather-resistant sealant every 1-2 years, especially if your table is exposed to rain or direct sunlight. A quick sanding before sealing ensures the finish adheres properly and keeps your table looking fresh.
With regular maintenance, your pallet gardening table can become a staple in your outdoor space for years to come.
For a creative twist, consider adding decorative elements like painted accents or built-in planters on the sides. These details not only enhance the aesthetic but also provide extra growing space for herbs or small flowers.
Whether you’re a beginner or a seasoned gardener, this project is a fantastic way to repurpose materials while creating a functional and stylish garden feature.
With your new pallet gardening table ready, you’re just a few seeds away from a bountiful harvest. Happy gardening! 🌱
Best pallet types and modifications for optimal gardening
Not all wooden pallets are created equal when it comes to gardening. The right pallet type can mean the difference between a thriving garden and one plagued by toxic chemicals or poor drainage.
Always opt for heat-treated pallets with the HT stamp, which indicates they're safe for plants and free from harmful methyl bromide fumes. Avoid chemically treated pallets marked with MB or CH—these contain pesticides that can leach into your soil and harm your plants.
For drainage, consider stacking pallets vertically to create tiered levels. This allows excess water to flow through while keeping roots aerated.
You can also drill additional drainage holes in the bottom slats if your pallet lacks them, but always line the interior with landscape fabric to prevent soil from escaping through the gaps. This simple modification transforms a basic pallet into a self-watering system for drought-prone plants.
When selecting pallet heights, prioritize accessibility and plant compatibility. A 24-inch tall pallet table works well for most vegetables and herbs, keeping them at a comfortable working height while preventing back strain.
For shallow-rooted plants like lettuce or basil, a single pallet layer suffices, while deeper-rooted crops like tomatoes or peppers benefit from stacked pallets for extra soil depth.
⚠️ callout-warning ⚠️
⚠️ Toxic Pallet Warning
Never use pallets with these markings: MC (methyl bromide), KD (creosote), or PT (penta). These contain highly toxic chemicals that can poison your soil and plants. Always sand down pallets before use to remove splinters and seal with non-toxic food-grade paint or linseed oil to extend their lifespan.
Pro Tip: Test pallets by placing a damp paper towel on them overnight. If the towel shows chemical residue, discard the pallet immediately.
Customizing your pallet table for plant compatibility starts with soil selection. Use a lightweight potting mix with perlite or vermiculite to improve drainage, especially in stacked designs. For heavy feeders like peppers or squash, mix in compost or worm castings to replenish nutrients.
If your pallet has uneven slats, add a wire mesh layer before filling with soil to create a level growing surface for delicate seedlings.
One common mistake is ignoring weight distribution in stacked pallets. Always place the heaviest plants at the bottom layer to prevent toppling. For example, fill the lowest tier with root vegetables like carrots or beets, then add lighter leafy greens or herbs on upper levels.
Reinforce joints with corner braces or metal straps for extra stability, especially in windy areas.
For a low-maintenance design, consider adding a drip irrigation system or self-watering reservoir at the base. This is especially useful for container gardens in hot climates where soil dries out quickly.
Simply drill a hole in the bottom of the pallet, insert a perforated pipe, and connect it to a water source. This ensures your plants receive consistent moisture without the hassle of daily watering.