
Picking
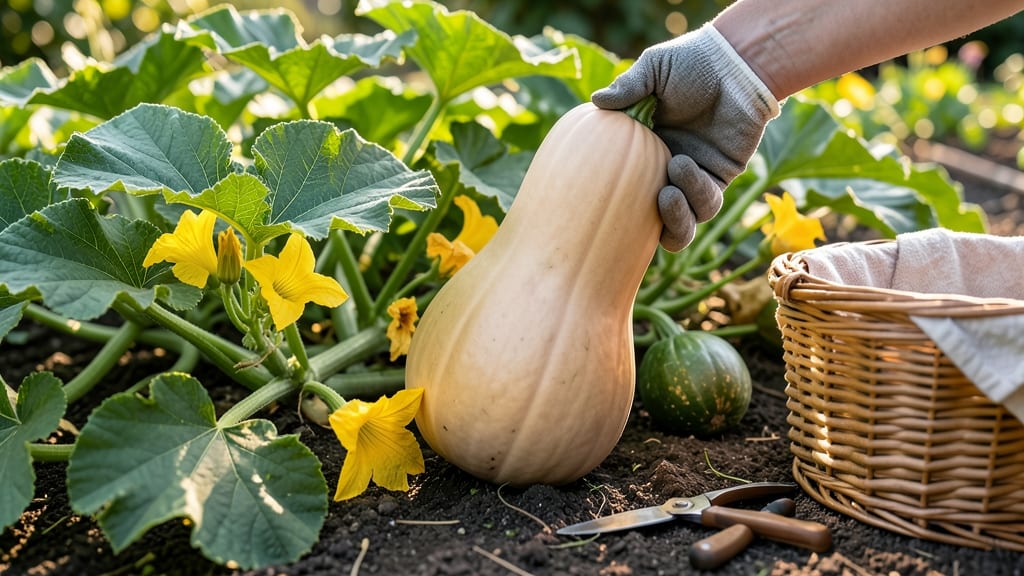
To pick butternut squash from your garden at the perfect moment, watch for three key signs that signal peak ripeness—because waiting too long means tough, flavorless flesh.
Butternut squash 🎃 thrives when harvested just right, and the difference between a sweet, storable squash and a mealy disappointment comes down to timing. You’ll learn how to spot the ideal moment, from skin color shifts to stem changes, so you never miss the harvest window again.
Most varieties reach maturity in 80 to 100 days, but environmental factors like temperature and sunlight can speed up or slow down the process. Below, I’ll break down the exact visual cues to look for, plus how to adjust for early or late harvests in your zone.
Mastering these details ensures your butternut squash stays fresh for months—no more wasted harvests or bland-tasting squash. Let’s get started.
3 Visual cues to identify perfectly ripe butternut squash
Harvesting butternut squash at the right time ensures maximum sweetness and storage potential. Unlike some squash varieties that rely on color alone, butternut squash requires a combination of visual cues and physical tests to determine peak ripeness. I’ve grown these for years, and these three indicators never fail me.
First, let’s address the most common mistake: assuming size alone means maturity. A butternut squash can grow large but still be underripe if other factors aren’t met. The key is combining skin hardness, stem condition, and color depth—each plays a crucial role in determining when to harvest.
Let’s break down each cue in detail. The skin color is your first clue—immature squash often has patches of green or pale yellow. I’ve seen gardeners miss the mark by harvesting too early because they ignored this subtle shift.
The skin should transition smoothly to a rich tan, especially near the stem.
Next, check the stem condition. A dry, papery stem that snaps off easily is a foolproof sign of ripeness. If the stem stays attached or feels moist, wait a few more days.
This is where many gardeners go wrong—they assume the squash is ready just because it’s large, but the stem tells the real story.
Finally, consider the size and weight. A ripe butternut squash should feel surprisingly heavy for its size. If it’s lightweight, it likely hasn’t developed its full starch content.
I always test this by lifting the squash—if it feels dense, it’s time to harvest. This is especially important for storage squash, as heavier squash store better.
Pro tip: Harvest on a dry morning to minimize disease risk. Use a sharp knife or pruners to cut the squash from the vine, leaving a small stem attached.
This helps prevent rot during storage. I’ve found that harvesting in the early morning also extends shelf life by reducing moisture exposure.
One more thing: Don’t wait until the first frost. Butternut squash can tolerate light frosts, but prolonged cold turns the flesh mealy. If you’re in a cooler climate, harvest as soon as the squash meets the visual cues—even if it’s a few weeks early.
A slightly smaller squash is better than a frost-damaged one.
Remember, these cues work together. If one indicator is off (like a dry stem but pale skin), wait a few more days. Over time, you’ll develop an eye for spotting the perfect butternut squash—just like I have after years of growing them.
The reward? Squash so sweet and flavorful, you’ll never want to buy store-bought again.
How long does butternut squash take to mature? A timeline for first-time growers
Growing butternut squash is incredibly rewarding, but understanding the maturity timeline ensures you don’t miss the perfect harvest window. From seed to table, this winter squash typically takes 80-100 days to mature, depending on your climate and growing conditions.
Knowing these stages helps you plan for optimal flavor, texture, and storage life.
Your journey starts with planting seeds after the last frost when soil temperatures reach at least 60°F (15°C). This usually falls between May and June in most U.S. zones.
Butternut squash thrives in full sun (6-8 hours daily) and well-draining soil with a pH between 6.0 and 7.0. Proper conditions set the stage for a successful harvest.
| Growth Stage | Days After Planting | Key Actions |
|---|---|---|
| Germination | 5-10 days | Keep soil moist; thin seedlings to 2-3 ft apart |
| Vine Development | 20-30 days | Apply balanced fertilizer; monitor for pests |
| Flowering | 35-45 days | Hand-pollinate if needed; ensure consistent watering |
| Fruit Development | 45-70 days | Reduce fertilization; watch for hard rind and stem drying |
| Harvest Ready | 80-100 days | Pick before first frost; cure squash for 10 days in warm, dry space |
If you’re growing in a warmer climate, your butternut squash may mature faster—sometimes as early as 75 days. Conversely, cooler regions might extend the timeline to 100+ days.
Pay close attention to soil temperatures and daylight hours, as these directly impact growth speed. Adjust your planting date if needed to avoid late-season frost risks.
One of the biggest mistakes is harvesting too early or too late. Early harvest results in underdeveloped squash with poor flavor, while overripe squash becomes mealy and prone to rot.
Aim to pick your butternut squash when the skin is hard and difficult to puncture with a fingernail, and the stem dries and snaps off cleanly. This usually aligns with late September to October in most zones.
After harvesting, let your squash cure for 10 days in a warm, dry place with good airflow. This process enhances flavor and extends storage life to 2-3 months when kept in a cool, dark spot.
Proper curing is just as important as timing your harvest—don’t skip this step for the best results!
With this timeline in mind, you’ll be well-prepared to grow flavorful, store-friendly butternut squash year after year. Happy gardening!