Picking
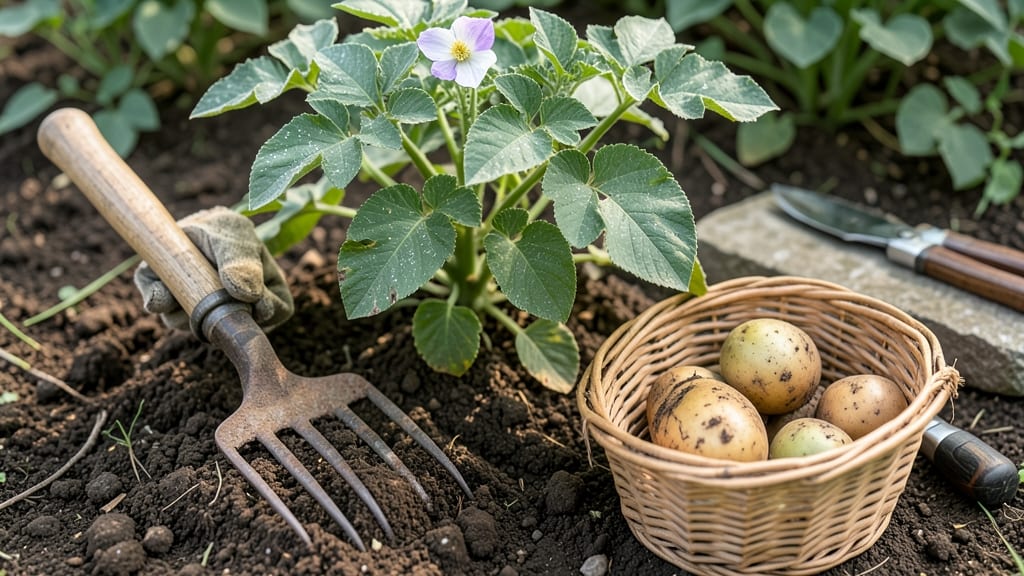
To pick potatoes from your garden at the perfect time means waiting until the tubers are fully developed but before the skin toughens or the crop spoils in the soil.
Digging up potatoes too early means small, underdeveloped tubers—but waiting too long risks shriveling or splitting. Mastering the perfect harvest timing ensures a bountiful, flavorful crop every time.
You’ll know it’s time when the 🥔 plant’s foliage yellows and dies back, the stems snap easily when bent, and the soil around the tubers is dry. These tactile clues, combined with soil temperature and regional growing seasons, help you avoid common mistakes that ruin harvests.
In this guide, I’ll walk you through three simple tests to check readiness, regional timing for USDA Zone 6a, and how to store your potatoes for maximum freshness once they’re out of the ground.
How to test potato harvest readiness using 3 tactile methods
Knowing exactly when to pick potatoes from garden can transform your harvest from disappointing to downright delicious. Unlike many crops, potatoes don't give obvious visual cues until they're nearly ready—and by then, it might be too late.
The key lies in three simple tactile tests that let you "read" your plants like a pro. These methods—leaf yellowing, stem drying, and soil probing—work together to give you the perfect harvest window every time.
I've used these same techniques for years in my own garden, and they've helped me avoid both underdeveloped tubers (from digging too soon) and shriveled potatoes (from waiting too long). The best part?
You don't need any fancy tools—just your hands, a little patience, and the willingness to get down in the dirt. Let's explore each method step by step so you can confidently determine when your potatoes are ready to harvest.
Leaf Yellowing Test
Check 50% yellow foliage—when half the leaves turn yellow and die back naturally. This signals tuber maturation has begun. Wait 1-2 weeks after this for full ripeness.
Stem Drying Test
Gently bend stems near base—they should snap easily when dry. If stems bend without breaking, tubers need more time. Brown stem ends confirm readiness.
Soil Probing Test
Use fingers to gently probe soil around plants. If you find 2-3 inch tubers with rough skin, they're ready. Green skin means they need more time in the ground.
The leaf yellowing test is my go-to first indicator because it's the most visible sign that your potatoes are maturing. Start monitoring your plants about 70 days after planting (for early varieties) or 90-120 days (for late varieties).
Look for the bottom leaves to yellow first—this is normal and happens as the plant redirects energy to the tubers. When you see 50% of the foliage yellowed, that's your first green light, but don't dig just yet.
Here's where many gardeners make a critical mistake: they assume yellow leaves mean it's time to harvest. But potatoes need that extra 1-2 week window after leaf yellowing to reach their full size and develop that perfect mealy texture we all love.
During this time, the plant continues to photosynthesize and feed the tubers, even though the leaves look dead. This is why the stem drying test becomes so important—it confirms the plant has truly finished its job.
To perform the stem drying test, wait until you see 75-80% of the foliage yellowed and dying back. Then, select a few stems and gently bend them near the base. If they snap cleanly with a dry sound, your potatoes are ready.
If they bend without breaking (like fresh green stems), give them another 5-7 days. I've found that early morning is the best time to check stems because they're more pliable after overnight moisture.
The soil probing test is where you get your hands dirty—literally! This tactile method lets you physically feel the size and readiness of your potatoes. Start by gently loosening the soil around the base of one plant using your fingers (no need for tools).
Work your way down about 6-8 inches—this is where most tubers form. When you find potatoes, check their size and skin texture. Ready potatoes should be 2-3 inches in diameter with rough, papery skin.
If the skin still feels smooth or slightly green, leave them in the ground for another 1-2 weeks. I once harvested a batch of potatoes that looked perfect by the leaf test but had green-tinted skin when I probed—they turned out small and bitter.
That taught me to always double-check with soil probing, especially for new potato varieties or when growing in cooler climates where maturation slows down.
For new gardeners, I recommend combining all three tests for the most accurate results. Start with leaf yellowing as your early warning system, then confirm with stem drying and soil probing.
This three-step approach has never failed me, even with 10 different potato varieties in my garden last season. Remember, potatoes continue to grow until the plant dies back completely—so don't rush the process!
One pro tip I've learned is to harvest in stages when using these tactile methods. If you find some tubers ready but others still small, dig the ready ones first and leave the rest in the ground.
This extended harvest technique gives you fresh potatoes over 2-3 weeks instead of all at once. Just be sure to cure your potatoes properly after harvest to develop their full flavor—more on that in our next section!
Finally, always consider your local climate when using these tactile tests. In hotter regions, potatoes may mature faster and need harvesting earlier. In cooler climates, you might need to wait longer for full-sized tubers.
The tactile methods work universally, but your timing may vary based on where you garden. Pay attention to your plants—they'll tell you exactly when it's time to dig!
Best time of year to harvest potatoes by climate Zone
The perfect harvest window for potatoes depends entirely on your climate zone and potato variety. In temperate zones like USDA 4-8, aim for late summer to early fall (70-120 days after planting). Tropical climates allow year-round harvests, while cold regions require early varieties to avoid frost damage.
Let’s break down the ideal timing for each zone.
For early varieties (60-90 days to maturity), harvest begins in mid-summer when foliage yellows. Late varieties (90-120 days) wait until fall frost threatens. In short-season zones (like Alaska or Canada), plant fast-maturing varieties (e.g., 'Yukon Gold') 2-3 weeks earlier to finish before frost.
Always prioritize soil temperature—dig when it’s above 50°F (10°C).
In temperate zones, watch for foliage yellowing—a clear signal tubers are mature. For early harvests, dig a few potatoes when they’re 2-3 inches wide (new potatoes).
In tropical climates, harvest during the dry season to reduce disease risk. Cold-climate gardeners should prioritize fast varieties and use row covers to extend the season.
Adjust for short growing seasons by choosing early-maturing varieties and planting 2-3 weeks earlier. In long seasons, succession plant early and late varieties for staggered harvests.
Always test soil readiness—dig a small sample to check tuber size before full harvest. Never wait until frost; potatoes left in cold soil develop sweet, grainy textures.
Pro tip: Mark planting dates and track days to maturity for your variety. Use a harvest calendar to align with local weather patterns. For example, in Zone 5, plant early varieties in May and harvest by July 4th to avoid frost.
In Zone 10, plant year-round but prioritize dry-season harvests.
Remember, harvest timing balances tuber size, flavor, and storage potential. Overlook these cues, and you’ll end up with small, underdeveloped potatoes or shriveled, inedible tubers. With the right approach, your potato harvest will be abundant and delicious every season! 🥔