Tools
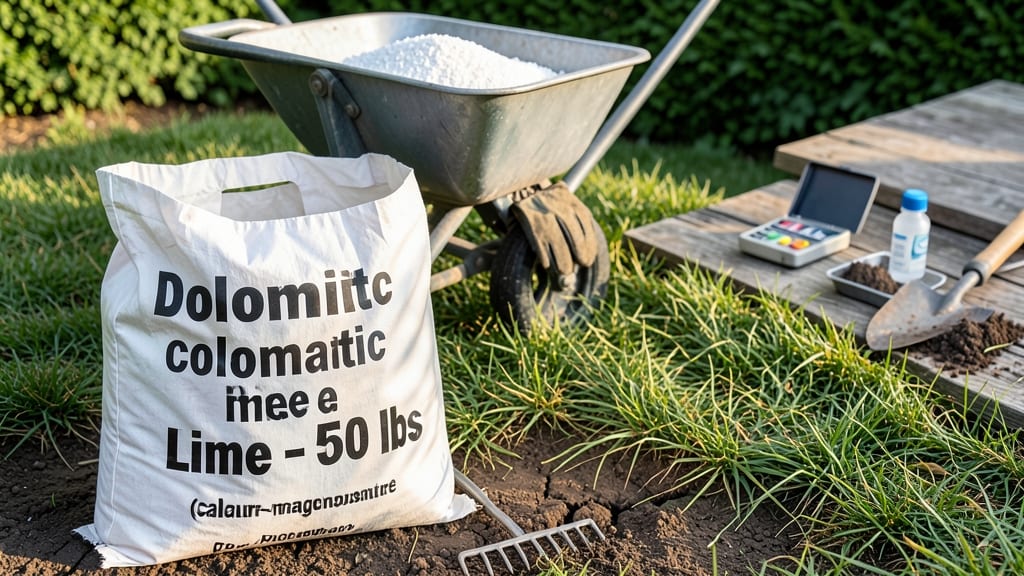
To put lime in your garden, aim for fall or early spring when soil is moist but not frozen, giving it time to work before planting season.
Struggling with yellowing leaves, stunted growth, or plants that refuse to thrive? Your soil might be too acidic—and lime could be the game-changer your garden needs. 🌱
Most plants—like vegetables, lawns, and flowering annuals—thrive in soil with a pH between 6.0 and 7.0. If your soil tests lower, adding lime raises the pH, unlocking nutrients and preventing disease. But timing matters: apply it too late, and your plants won’t benefit before their growing season kicks in.
Below, I’ll walk you through the best times to amend your soil, how to test your pH, and what to avoid so you don’t waste your effort—or your lime.
Best times to apply lime for optimal soil pH balance
If your garden soil feels like a sour lemonade instead of a balanced brew, it’s time to consider lime. Lime isn’t just for cocktails—it’s a powerhouse for adjusting acidic soil and unlocking plant vitality.
But timing is everything. Apply lime at the wrong time, and you’ll waste money or even harm your plants. Let’s dive into the best seasons and strategies to maximize its benefits.
Most gardeners swear by fall or early spring as the ideal windows for lime application. Why? Because these seasons give lime months to work before planting season kicks in. Fall applications, in particular, allow lime to break down over winter, creating the perfect foundation for spring planting.
Meanwhile, early spring applications ensure your soil is ready just as you’re prepping beds for new growth.
But what if you’re dealing with mid-season pH issues? Or maybe you’re in a region with unpredictable weather patterns? Let’s break down the science behind timing and when to adjust your approach.
The key is understanding how lime interacts with your soil’s natural cycles—and avoiding common pitfalls that can turn a simple amendment into a costly mistake.
| Season | Best Time to Apply | Why This Works | Soil pH Target |
|---|---|---|---|
| Fall (September–November) | 2–3 months before spring planting | Lime has time to neutralize acidity over winter; improves soil structure for spring | 6.0–7.0 (ideal for most vegetables) |
| Early Spring (March–April) | 4–6 weeks before planting | Ensures soil is ready for seeds/transplants; avoids summer heat stress on plants | 6.0–7.0 (adjust based on plant needs) |
| Mid-Summer (June–July) | Only for severe pH issues (use sparingly) | Risk of overcorrecting; may harm existing plants; use organic matter instead if possible | 5.5–6.5 (temporary fix) |
| Winter (December–February) | Avoid (unless soil is frozen) | Lime won’t work in frozen or waterlogged soil; wait for thaw | N/A |
For most gardeners, fall is the gold standard for lime application. By adding lime in late summer or early fall, you’re giving it the entire winter to integrate into the soil.
This timing aligns perfectly with nature’s cycle: as temperatures drop, microbial activity slows, but lime still works its magic, gradually raising pH levels without shocking your plants. Plus, fall applications reduce the risk of lime leaching during heavy spring rains.
If you’re in a warmer climate where winters are mild, early spring might be your best bet. In these regions, lime applied in March or April gives plants a head start in nutrient uptake.
Just be sure to water it in lightly after application to help it settle into the soil. Avoid applying lime in dry conditions, as it can create a hardpan layer that roots struggle to penetrate.
But what if your soil test reveals a pH crisis mid-season? While it’s not ideal, you can make a temporary adjustment in summer—just proceed with caution. Use pelletized lime for targeted application around mature plants, and avoid overdoing it.
The goal is to stabilize pH without disrupting the delicate balance of your garden ecosystem. Think of it as a band-aid solution until you can plan a full fall amendment.
One critical rule to remember: never apply lime to frozen or waterlogged soil. Winter applications are a no-go because lime won’t dissolve properly, leaving your soil unevenly amended. Instead, wait until the ground thaws and dries out slightly.
This ensures even distribution and maximum effectiveness. Pro tip: If you’re in a region with heavy clay soil, consider mixing lime into the top 6 inches of soil for better integration.
How often should you re-test your soil pH after applying lime? Most gardeners find that annual testing in early spring is sufficient for maintenance. However, if you’re dealing with highly acidic soil or planting pH-sensitive crops like tomatoes or peppers, you might need to test every 6–12 months.
Keep a soil journal to track changes over time—this helps you fine-tune your lime strategy year after year.
For new gardeners, it’s easy to get overwhelmed by the idea of soil chemistry. But think of lime as a long-term investment in your garden’s health. A little patience and planning now will pay off with lush foliage, higher yields, and happier plants for seasons to come.
Start with a small test area, monitor results, and adjust as needed. Your future self—and your plants—will thank you.
Remember, the goal isn’t just to raise pH levels but to create a balanced, thriving ecosystem. Lime is just one tool in your gardening toolkit, and when used correctly, it can transform your soil from acidic to ideal in just a few months.
So grab your soil test kit, mark your calendar, and get ready to give your garden the pH boost it deserves.
How to test soil pH before adding lime: a step-by-step guide
Before adding lime to your garden, you must test your soil pH to avoid overcorrecting or undercorrecting. Lime raises pH levels, but applying it blindly can harm plants that prefer acidic soil, like blueberries or azaleas.
Start by gathering a soil sample from multiple spots in your garden—at least 6 inches deep—to get an accurate reading.
There are two main ways to test soil pH: using a DIY home test kit or sending a sample to a professional lab. Home kits are affordable (around $10–$20) and quick, while lab tests cost more ($20–$50) but provide detailed results, including nutrient levels.
For most gardeners, a home test kit is a great starting point.
⚠️ WARNING: Timing is critical when adding lime! ⚠️
To test your soil with a home kit, follow these steps: Moisten your soil sample, then add a few drops of the test solution. Compare the color change to the chart provided. Most kits use a color-coded scale from 1 (very acidic) to 14 (very alkaline). Aim for a pH between 6.0 and 7.0 for most vegetables, flowers, and lawns.
If your soil pH is below 6.0, you’ll need to add lime. The amount depends on your soil type and current pH. Sandy soils require more lime (up to 5 lbs per 100 sq ft), while clay soils need less (around 1–2 lbs per 100 sq ft).
Always work lime into the top 6 inches of soil and water it in lightly to activate the pH adjustment.
For precise results, consider a lab test if you’re dealing with complex soil issues. Labs can also test for nutrient deficiencies like nitrogen or potassium, which home kits often miss.
Once you know your pH, you can calculate the exact lime amount using a soil pH calculator (available online from extension offices).
After applying lime, re-test your soil in 3–6 months to confirm the pH change. Over time, rain and organic matter can lower pH again, so regular testing keeps your garden thriving. Monitor plant health—if leaves turn yellow or brown, your soil may still be too acidic or alkaline.