
Shrubs
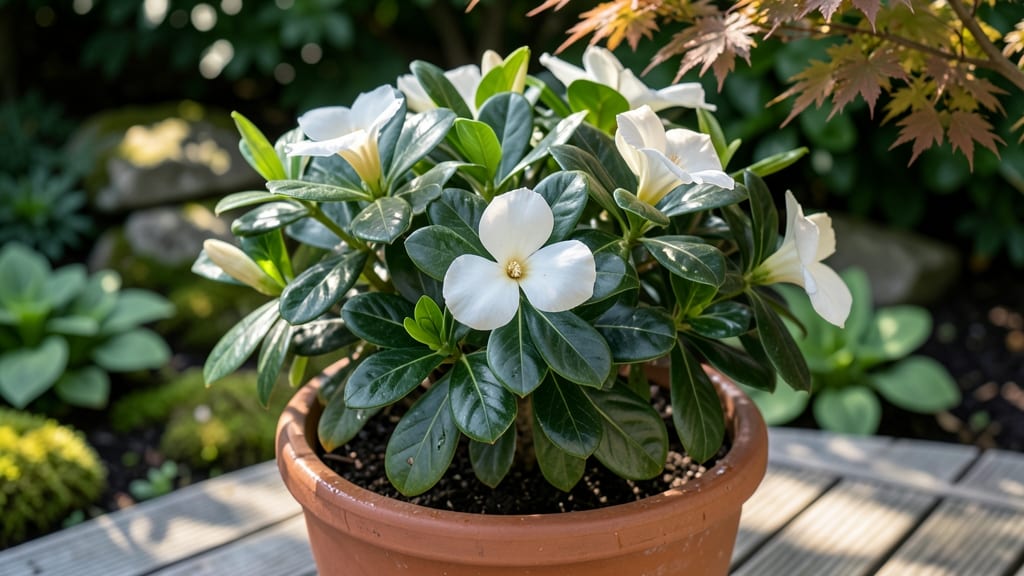
A full-grown gardenia 🌸 can be the crown jewel of your landscape—if you know how to care for it. That stunning, fragrant display might be fading if you’re pruning at the wrong time or cutting too aggressively.
Most gardeners make one critical mistake: pruning after the blooms appear, which signals the plant to focus on new growth instead of next year’s flowers. The secret? A strategic pruning schedule that keeps your gardenia blooming like clockwork.
In this guide, I’ll walk you through the exact timing, tools, and techniques to prune your mature gardenia without sacrificing those prized white blooms—plus how to revive it if pruning stress sets in.
Whether you’re in a frost-free Zone 9b or a cooler climate, these tips will ensure your gardenia stays lush, healthy, and bursting with fragrance year after year.
When and how to prune full-grown gardenias for maximum blooms
Pruning your full-grown gardenia at the right time can mean the difference between a shrub bursting with fragrant white blooms and one struggling to produce flowers. The key lies in understanding your gardenia’s natural growth cycle and how pruning stimulates—or stifles—new growth.
Most gardeners make the mistake of pruning too late in the season, which can reduce next year’s blooms or even shock the plant.
Gardenias bloom on new wood, meaning their flowers develop on current season’s growth rather than old wood. This makes spring pruning the golden window for encouraging abundant blooms, but timing is everything.
Prune too early, and you risk damaging dormant buds that could have produced flowers. Prune too late, and you cut back growth that would have supported next year’s blooms.
Choose the Right Season
Prune your full-grown gardenia in early spring (just as new growth begins) or late winter (before buds swell). This timing ensures you’re not cutting back current season’s blooms or dormant flower buds.
Assess the Plant’s Structure
Look for dead, diseased, or crossing branches. These should be removed first to improve air circulation and reduce fungal risks. Use clean, sharp pruners to make 45-degree cuts just above a leaf node or outward-facing bud.
Thin Out Overcrowded Branches
Remove 1/3 of the oldest wood to encourage new growth. Focus on branches that are rubbing against each other or growing inward, as these can block sunlight and reduce blooming potential.
Shape the Shrub Gently
Avoid heavy pruning to maintain the gardenia’s natural shape. Instead, use light heading cuts to encourage bushier growth. Never remove more than 25% of the plant’s foliage in one session.
Clean Up and Disinfect
Remove all pruned debris from the base of the plant to prevent disease buildup. Wipe your pruners with rubbing alcohol between cuts to avoid spreading bacterial infections.
Fertilize After Pruning
Apply a balanced acid-loving fertilizer (like 10-10-10) 2–3 weeks after pruning to support new growth. Water deeply to help the plant recover and establish roots for the blooming season.
One of the biggest mistakes gardeners make is pruning gardenias in the fall or winter. This timing can severely limit next year’s blooms because you’re cutting back growth that would have supported new flower buds.
If you must prune outside of spring, limit yourself to light shaping and removing dead wood only.
Another critical error is over-pruning. Gardenias are sensitive plants, and removing too much foliage can stress the shrub and reduce its ability to produce blooms. Stick to the 1/3 rule: never remove more than one-third of the plant’s branches in a single session.
This ensures your gardenia has enough energy to recover and thrive.
For potted gardenias, pruning principles are the same, but be extra cautious about root-bound conditions. If your plant is root-bound, pruning too aggressively can shock the roots further.
Instead, focus on light shaping and removing dead branches while planning to repot in early spring to refresh the soil and roots.
After pruning, monitor your gardenia closely for signs of stress, such as yellowing leaves or dropping buds. These can indicate over-pruning or environmental stress. Adjust your care routine by ensuring the plant gets partial shade, consistent moisture, and acidic soil
Gardenia pruning tools and techniques: what works (and what doesn’t)
Pruning your full-grown gardenia isn’t just about shaping it—it’s about encouraging more blooms and healthier growth. The right tools and techniques make all the difference. Using the wrong tool or cutting at the wrong time can stress your plant, leading to fewer flowers or even leaf drop.
For example, I once saw a gardenia lose half its blooms after being pruned with dull shears in summer—don’t let that happen to yours!
Your gardenia’s blooms form on new wood, so pruning too late in the season can cut off next year’s flowers. The key is timing, tool selection, and knowing whether to use thinning cuts (removing entire branches) or heading cuts (trimming back growth).
Let’s break down what works—and what doesn’t—to keep your gardenia thriving.
| Tool/Technique | Best For | When to Use | Avoid If... |
|---|---|---|---|
| Bypass Pruners | Thin stems, precise cuts | Early spring (March) | Branches > ½ inch thick |
| Loppers | Thick branches, shaping | Late winter (Feb) | Tender new growth |
| Thinning Cuts | Remove dead/diseased wood | Year-round (as needed) | Healthy blooming branches |
| Heading Cuts | Encourage bushier growth | Early spring (March) | After summer blooms |
For your full-grown gardenia, bypass pruners are my go-to for most cuts—they make clean, precise snips that heal faster. I avoid hedge shears because they crush stems, which can lead to disease.
If you’re dealing with thicker branches (over ½ inch), loppers are a game-changer. Just be sure to sterilize them with rubbing alcohol between cuts to prevent spreading bacteria.
When it comes to techniques, I swear by thinning cuts for removing dead or crossing branches. These cuts open up the plant’s center, improving airflow and reducing humidity-related issues like powdery mildew.
For shaping, I use heading cuts—but only on non-flowering branches. Cutting back flowering stems too hard will reduce next year’s blooms, so always leave at least one-third of the branch intact.
One mistake I see often? Pruning in summer or fall. This sends mixed signals to your gardenia, encouraging new growth when it should be focusing on root development or preparing for dormancy.
Instead, stick to late winter or early spring (just as new growth begins). If you must prune later, do it lightly—focus on removing only dead or damaged wood.
Pro tip: After pruning, give your gardenia a light fertilizer with high iron to support recovery. I use a 10-10-10 blend diluted to half-strength, applied in the morning to avoid evening moisture.
Pair this with a 2-inch layer of mulch to retain soil moisture and keep roots cool—your gardenia will thank you with lush foliage and even more blooms next season.