
Picking
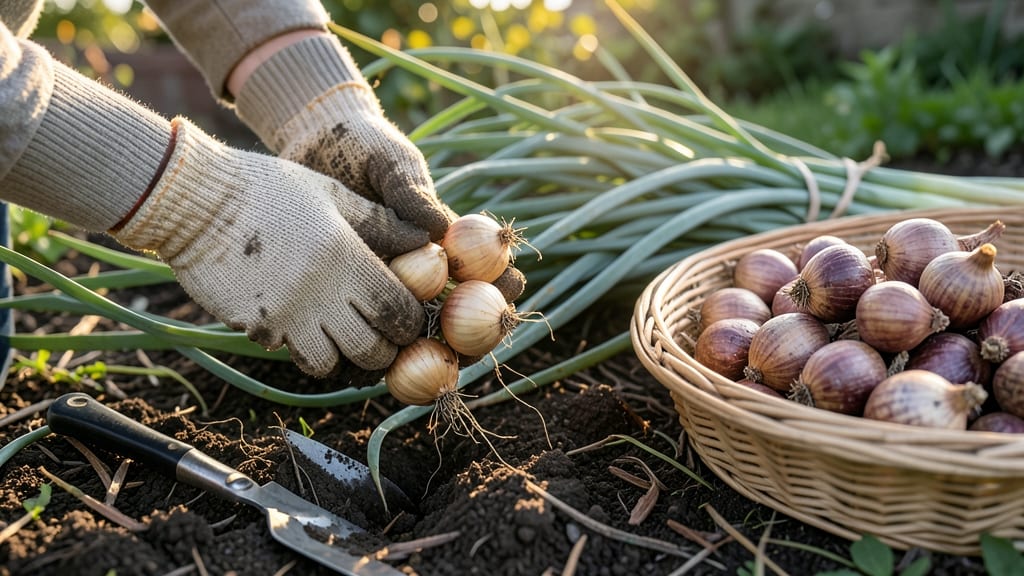
Harvesting shallots from garden at the right moment transforms those tiny bulbs into plump, flavorful harvests that put store-bought to shame.
I’ve dug up shallots too early, only to find underdeveloped 🧅 bulbs, and waited too long, watching them split or rot in the ground. The difference between a disappointing harvest and a bountiful one often comes down to timing—something even experienced gardeners can get wrong.
Knowing when to pull your shallots isn’t just about days after planting; it’s about reading the leaves, feeling the bulbs, and understanding how your local climate plays into the mix.
In Zone 6a, that window opens in mid-July when the tops turn yellow and flop, but a late spring can push it back by weeks.
In this guide, I’ll walk you through the exact signs to watch for, the step-by-step method for digging without damage, and how to store your harvest so it lasts through winter. No more guessing—just bigger, better shallots every time.
When to harvest shallots for maximum bulb size
Timing your shallot harvest is everything when you want large, flavorful bulbs. Unlike onions, shallots don't form a single bulb but grow in clusters, making the 3-4 month window after planting critical.
Harvest too early, and you'll get tiny, underdeveloped bulbs. Wait too long, and they'll split or rot in the ground.
Most gardeners plant shallots in early spring (March-April in USDA Zone 6a), which means your peak harvest window falls between July and August. However, regional climate variations can shift this timeline by 2-4 weeks.
Cooler northern climates may need to harvest earlier, while southern gardens can extend harvests into early September.
Understanding the visual maturity cues is key. Unlike onions, shallots don't bolt upright when ready - instead, look for the tops turning yellow and flopping over.
This signals the plant is redirecting energy to bulb development. The bulbs themselves should feel firm and well-formed when gently squeezed, with a papery skin developing.
The ideal harvest time occurs when 60-70% of the foliage has turned yellow. At this stage, the bulbs are fully developed but haven't yet started to deteriorate. Waiting until 80% yellowing risks bulb splitting, while harvesting at 50% yellowing often results in smaller bulbs that won't store well.
| Harvest Stage | Visual Cues | Bulb Condition | Action |
|---|---|---|---|
| Too Early | Green tops (50%+) | Small, soft bulbs | Wait 2-3 weeks |
| Perfect Time | Yellow tops (60-70%) | Firm, 1-2" diameter | Harvest immediately |
| Too Late | Brown, floppy tops (80%+) | Split or rotting bulbs | Harvest and discard damaged |
One common mistake gardeners make is using leaf color alone to determine harvest readiness. While yellowing tops are the primary indicator, you should also gently dig up one bulb to check its development.
The bulb should have multiple layers and feel solid when pressed - not hollow or mushy. If the bulb is still small with few layers, wait another week.
For cooler climates (Zones 3-5), aim to harvest shallots by late July to avoid early fall frosts. In warmer climates (Zones 7-10), you can extend harvests until mid-September, though bulbs may be smaller.
The key is to harvest before the first hard frost, which can damage both the tops and bulbs.
Morning is the best time to harvest shallots because the soil is moist but not waterlogged, making bulbs easier to extract without damage. Avoid harvesting after heavy rain when the soil is saturated, as this can cause bulbs to split or rot during extraction.
Always use a sharp garden fork to gently loosen the soil around the bulbs before lifting.
If you're growing shallots in containers or raised beds, the harvest timing remains similar, but you may need to adjust slightly for microclimates. Container-grown shallots often mature 1-2 weeks earlier than those in garden beds due to better soil drainage and temperature regulation.
Always check the bulb condition rather than relying solely on the calendar.
Remember that shallot varieties can affect harvest timing slightly. French Grey and Dutch Yellow varieties typically mature in 105 days, while Italian White varieties may take 115-120 days. Always check your seed packet for specific days-to-maturity information and adjust your harvest window accordingly.
Pro tip: Mark your harvest calendar 105 days after planting and check your shallots weekly during the last 2-3 weeks of their growth cycle. This weekly inspection helps you catch the perfect harvest window without missing it.
Once you master this timing, you'll consistently grow plump, flavorful shallots that rival store-bought - and taste so much better!
Step-by-step guide to harvesting shallots without damaging bulbs
Harvesting shallots at the right time ensures you get those plump, flavorful bulbs instead of tiny, underdeveloped ones. The key is patience and precision—digging too early or too late can ruin your harvest. I’ve learned through trial and error that gentle handling and proper drying techniques make all the difference.
Whether you’re a seasoned gardener or just starting, follow these steps to protect your bulbs and store them for months to come.
Before you begin, gather your essential tools: a sharp garden fork, pruning shears, and a clean basket for sorting. Avoid using a shovel, as it can bruise the bulbs. Work on a dry, sunny day to speed up the curing process.
The goal is to remove the shallots from the soil without tearing their papery skins or damaging the delicate outer layers that protect them during storage.
- Step 1: Wait for Visual Cues Harvest when 50-60% of the foliage turns yellow and begins to flop over. The bulbs should be 1-2 inches in diameter and firm to the touch. If the tops are still green, wait 1-2 more weeks for full maturity.
- Step 2: Loosen the Soil Gently Use a garden fork to loosen the soil around the shallots in a circular motion, about 6 inches away from the plant. This prevents direct contact with the bulbs, reducing damage risk.
- Step 3: Lift Bulbs Carefully Grip the base of the plant and pull upward with a slow, steady motion. Avoid yanking—this can tear the skins. Shake off excess soil, but don’t rinse the bulbs yet.
- Step 4: Trim the Foliage Use pruning shears to cut the tops back to 1-2 inches above the bulb. This reduces moisture loss during drying and prevents rot.
- Step 5: Cure the Bulbs Lay the shallots in a single layer on a screen or mesh rack in a shady, well-ventilated area for 2-3 weeks. Avoid direct sunlight, which can cause the skins to dry too quickly and crack.
- Step 6: Store Properly Once the skins are completely dry and papery, brush off any remaining soil. Store in a cool, dark place (like a mesh bag or cardboard box) with good airflow to prevent spoilage.
One common mistake I see is harvesting too early—when the bulbs are still small and soft. This happens when gardeners focus on the green foliage instead of the bulb development. Another pitfall is rinsing the bulbs immediately after harvest, which traps moisture and promotes rot.
Always let them cure first. If you notice any bulbs with soft spots or mold, discard them immediately to prevent spreading.
Proper storage is just as critical as harvesting. Shallots stored in a humid environment or sealed container will sprout or rot within weeks. Instead, keep them in a mesh bag or open container in your pantry or root cellar (around 40-50°F) for up to 6 months.
Check them monthly and remove any that show signs of spoilage. With these techniques, you’ll enjoy homegrown shallots long after your garden has gone dormant.
Remember, the softer you handle the bulbs, the longer they’ll last. Take your time during harvest, and your flavorful, homegrown shallots will reward you all season long. Happy harvesting! 🧅